Hey Mama’s and all you hair loving ladies out there! I have been asked about my hair from time to time and thought it was the perfect opportunity to share how I achieve the trendy “beach wave” look! I recently got my hair done, and went drastic! I decided to take my ombre up a notch and go with a “lived in color” look… BLONDE! “Lived in color” isn’t ombre, but it still has a beautiful transition of color. It gives the look of outgrown roots…like you have lived with your colored hair for awhile (get it? wink wink)! sounds like it wouldn’t look good, but in my opinion its GORG! I am loving this blonde look and can’t wait to show you my favorite way of styling it! Maybe blondes really do have more fun!?! **Shout out to Jessica Rondinelli at Anagen 11 for creating this beautiful cut & color! Everyone should check out http://www.anagen11.com if you are looking for the trendiest, most stylish hair salon and stylist out there!

Let me just start off by saying, I am not a hairstylist I just genuinely like playing around with new looks! My goal is to help you ladies achieve this look with only 3 simple ingredients!
Ingredient #1: 1 inch barrel curling iron.

Ingredient #2: Flat iron.

Ingredient #3: Aveda Air Control hairspray.

I have found that the Hot Shot Tools brand works well which you can purchase at any Sally Beauty Supply store. I also love Aveda products and air control hairspray happens to be my favorite! If you haven’t tried this, I highly recommend it! **Perk: the smell is oh so wonderful! Of course your 1 inch curling iron, flat iron and aerosol hairspray will certainly work for this look as well!

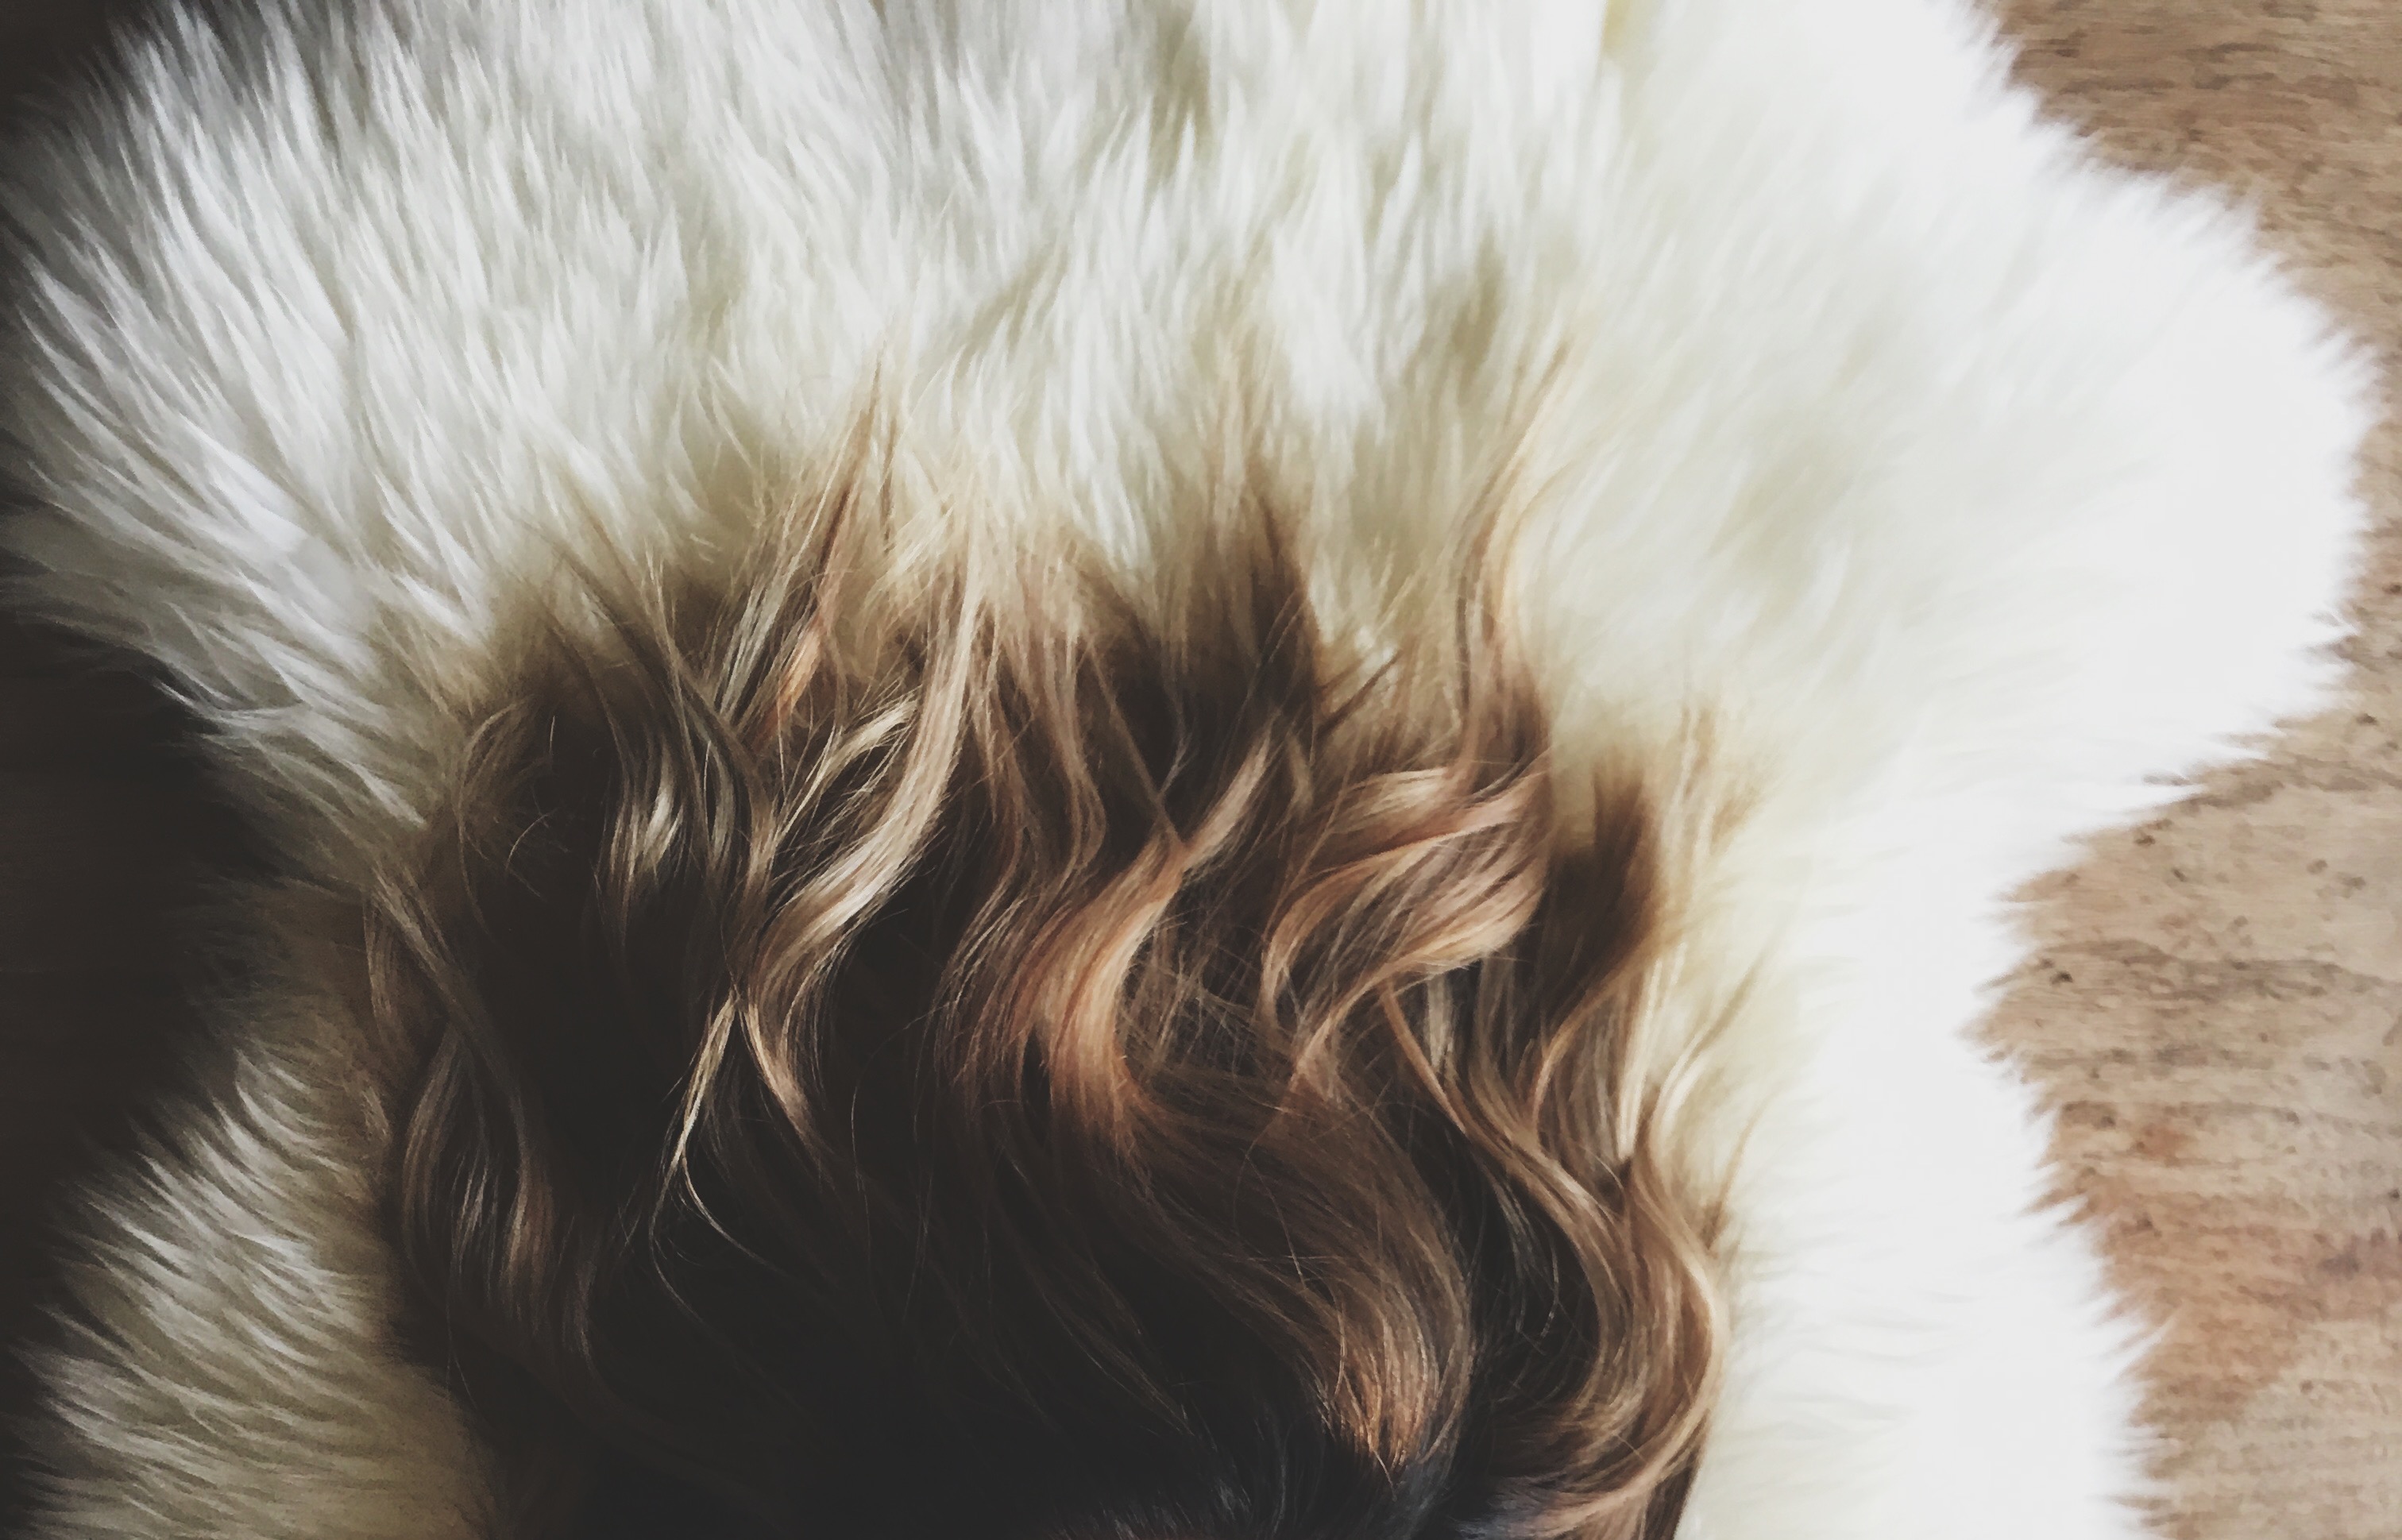
Now that you have your 3 simple ingredients, it’s time to get started. You can begin with straight or wavy hair as long as it’s dry! I am able to achieve this look with air-dried hair (which is crazy and wavy) and I have also achieved this look with straight (blowdried) hair. Today my hair happened to be straight:


I make sure to part my hair the way I want it to lay before I begin curling. Today, I decided to part it to the side, but a middle part also looks really fabulous with beachy waves! A rule-of-thumb I go by…always curl your hair away from your face.


You will want to clamp a piece of your hair with the top part of the curling iron faced up or to the back of your head and the bottom of the curling iron will be faced down or to the front of your face. When choosing a clump of hair; the amount you choose will determine the thickness of the curl. Choosing smaller pieces of hair will give it more of a messy/beachy look rather than really thick pieces of hair which may end up looking like one big wave. I definitely recommend choosing smaller pieces of hair as pictured:


I clamp my curling iron about an inch or two away from my scalp and curl back away from my face. Holding the curling iron with my hair wrapped around it, I make sure to leave at least 1 to 2 inches of hair out of the wrapped-curl (this is crucial for the beachy look). After I release the curl it will look like this:

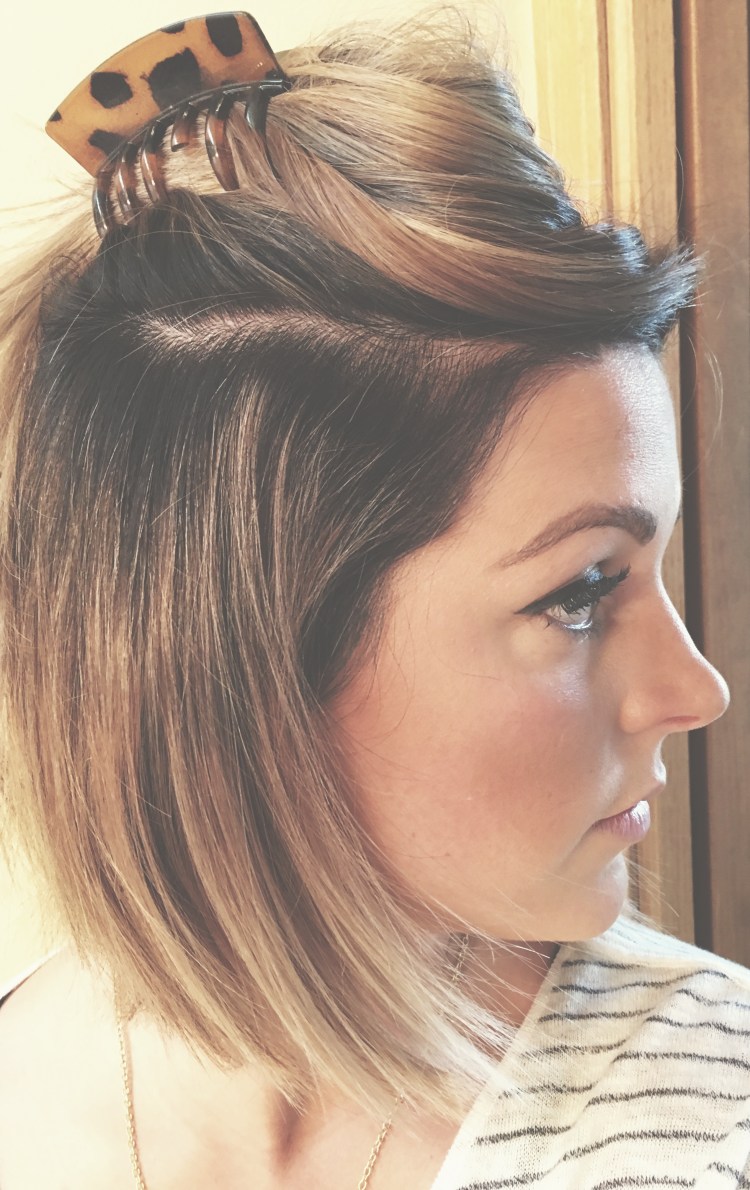
I proceed by spraying this curl with the air control hairspray and letting it sit. After finishing the top layer of my hair I clip it up and continue this type of curling to the bottom half of my hair (don’t mind my broken clip…toddlers).
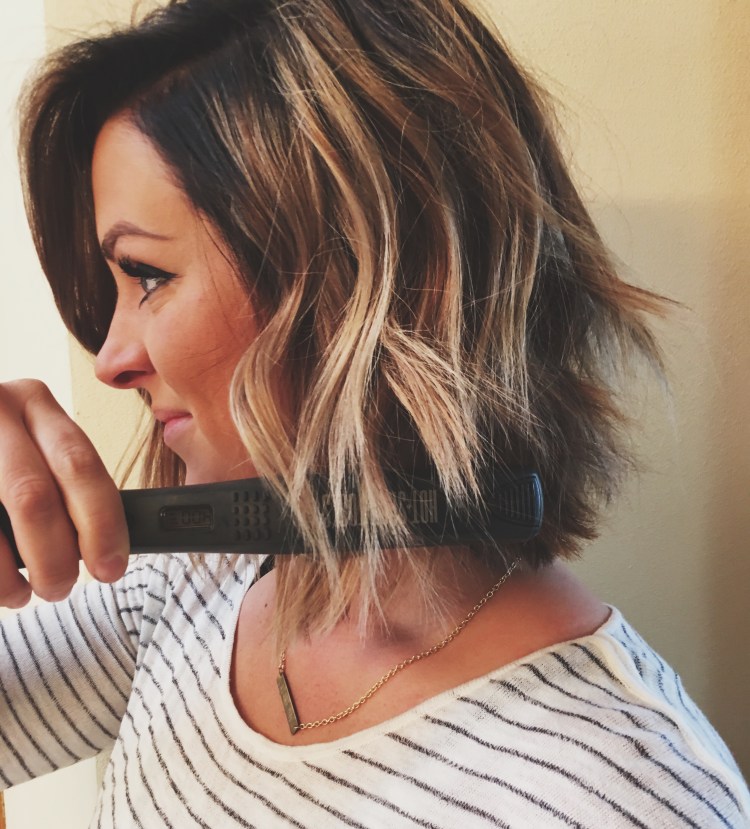
After finishing curling and hairspring the bottom half of my hair and releasing the pinned up hair, it’s then time to bring the flat iron into the picture! I flat iron the tips of the hair I left out of the curling iron and I also like to straighten underneath hairs to give it a more sleek look:
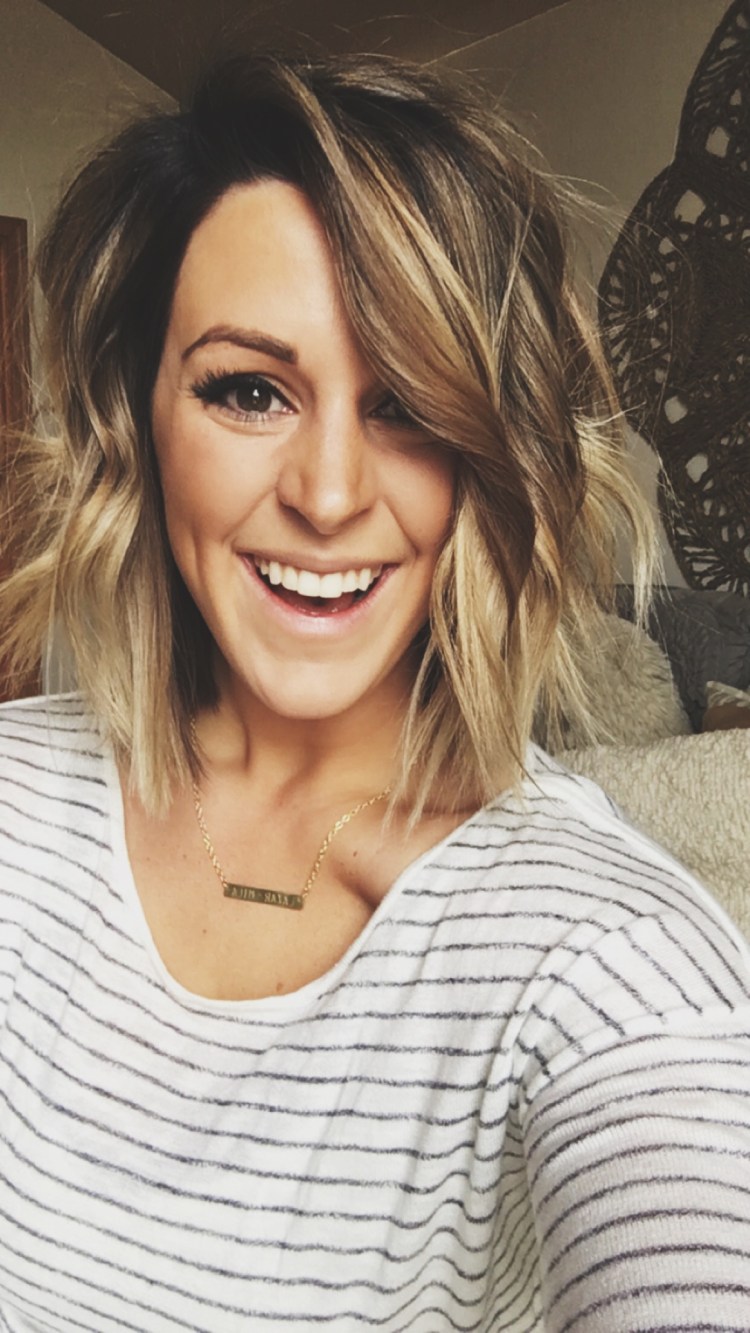
Once I have gone through straightening the desired ends, I will typically go through and add a few more curls to the very top layer of my head. I usually make these pieces the smallest so it gives the illusion of more volume and dimension. Once I have finished adding the extra top curls I run my fingers through pulling pieces apart and spraying them with the hairspray. BOOM! That is it! The end result is practically as effortless looking as it was to accomplish:
Hope this was helpful! Now if only our hair ACTUALLY looked this way after leaving the beach! **Side note… this look literally only took me a maximum of 15 minutes! So all you busy Mama’s out there…there is hope to fabulous looking hair in a rush!
Have Faith Mama(s)… 3 simple ingredients can make a beachy–ful masterpiece!
XO
